Building a Workshop - PS8 Steam
PS8 Steam
Title
Workshop
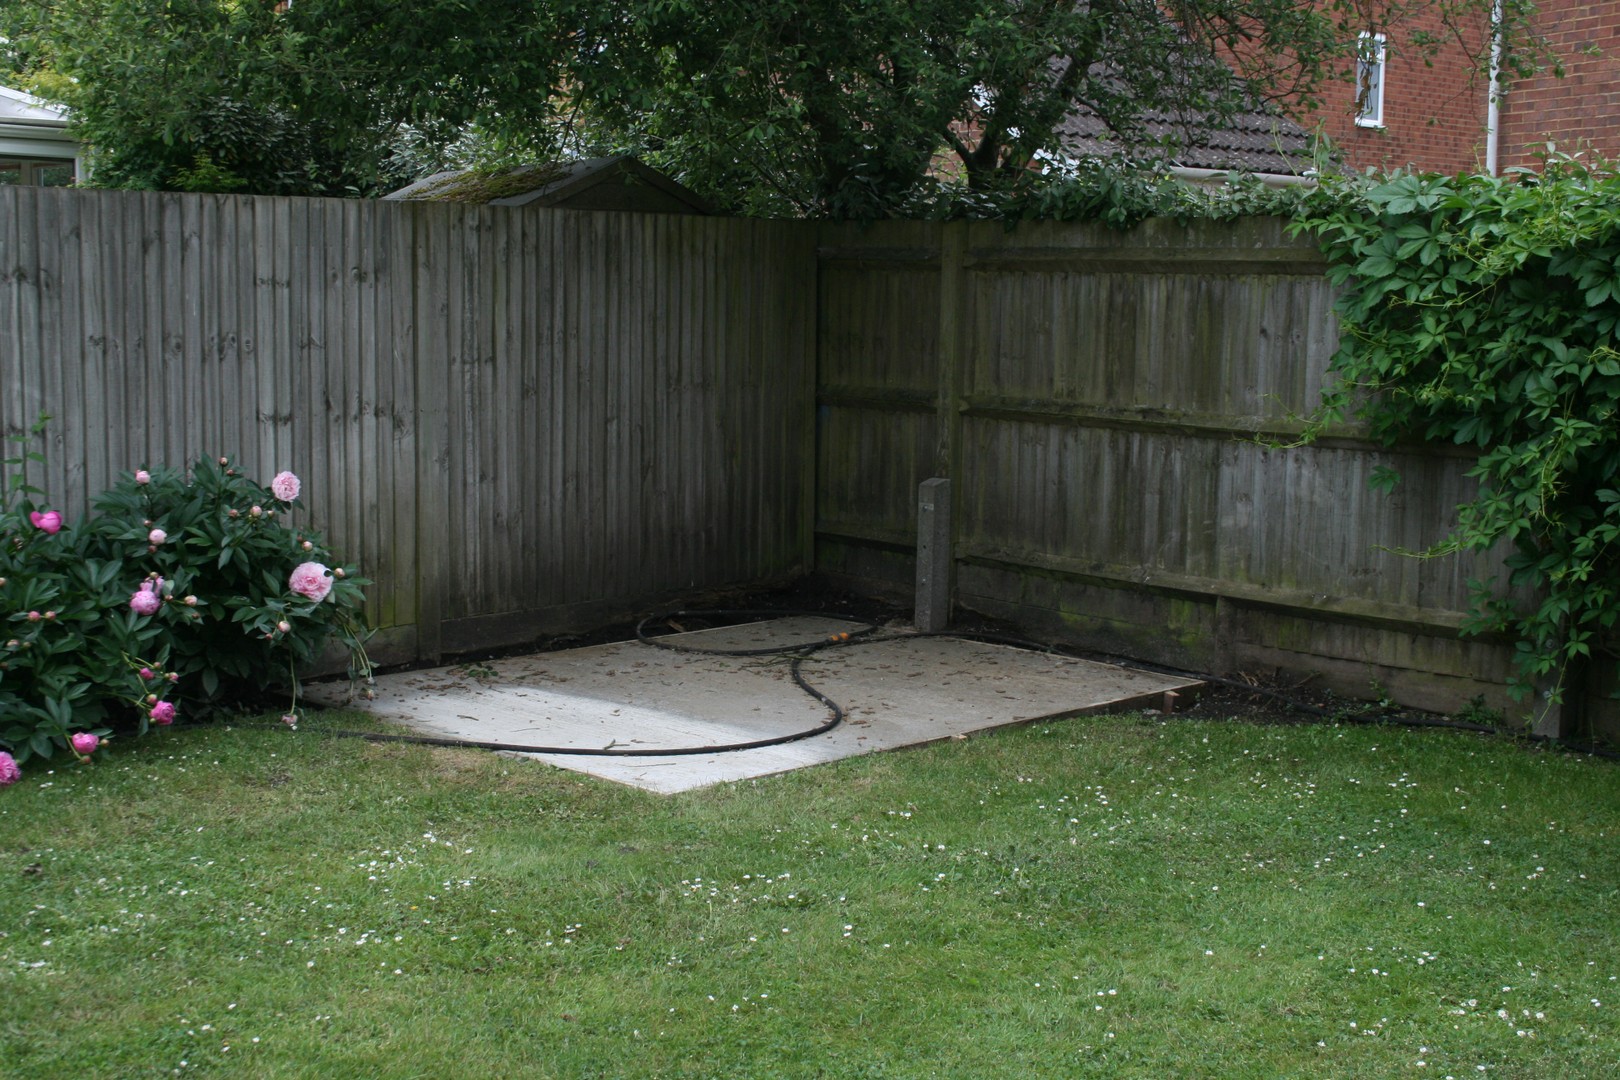
So, time to get serious with all of this and build a workshop.
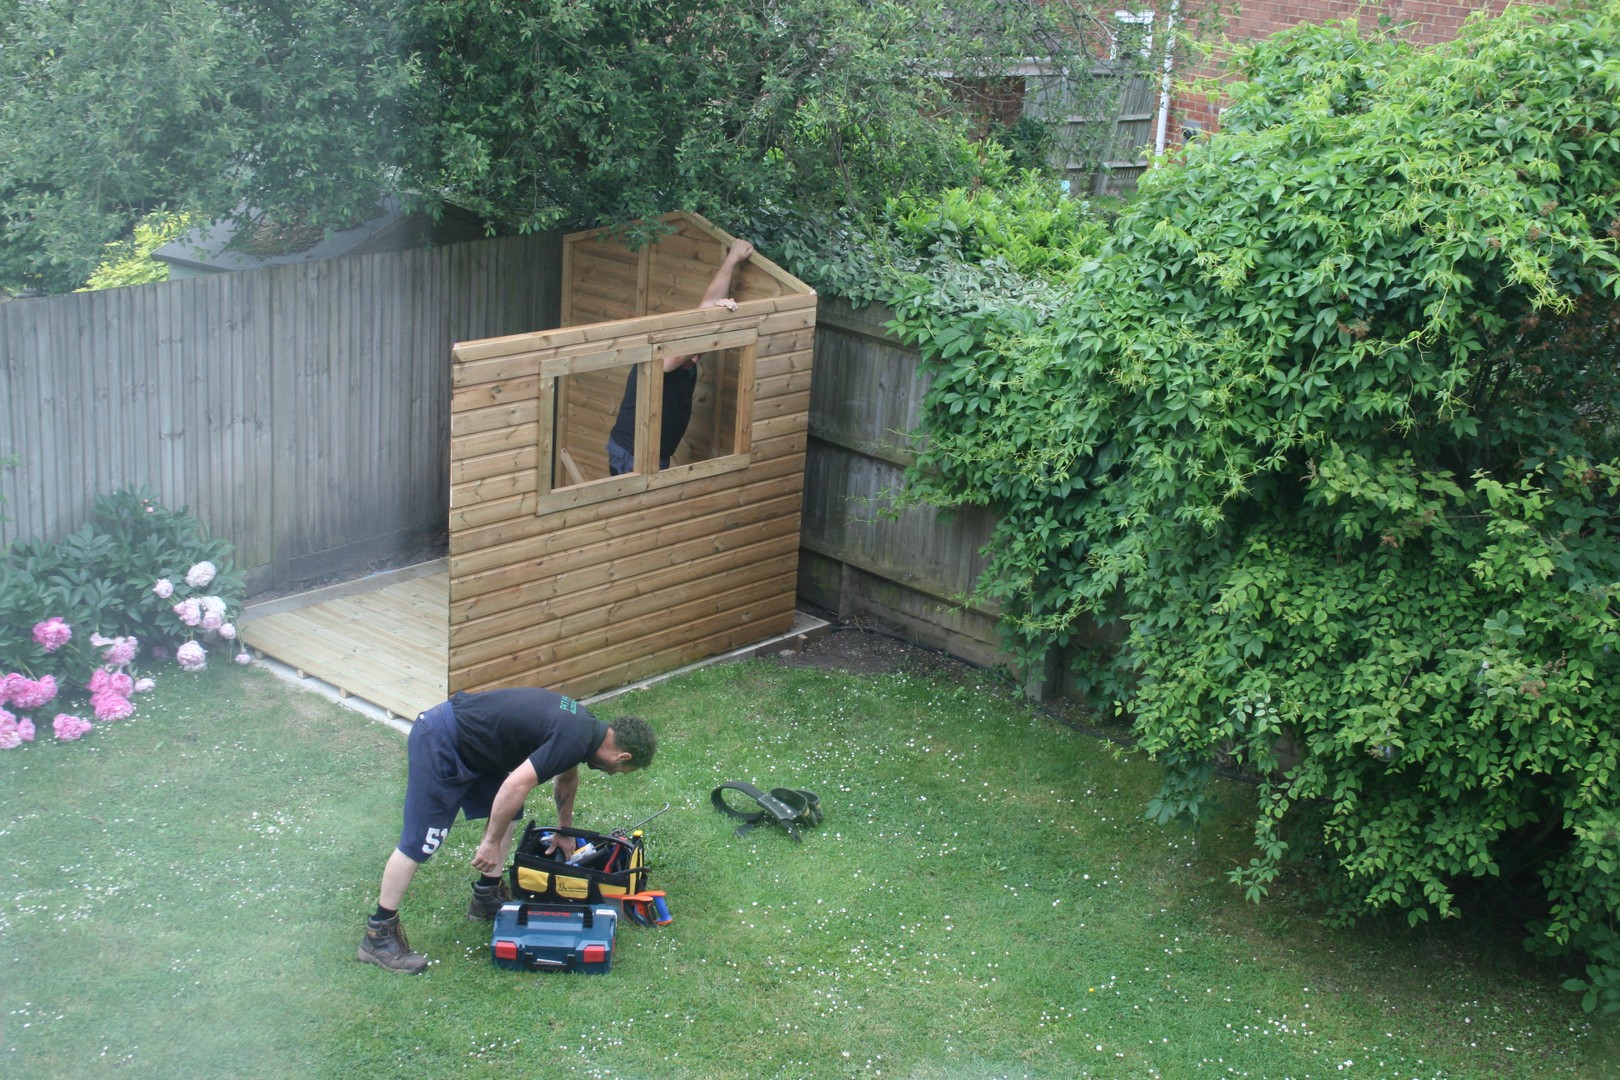
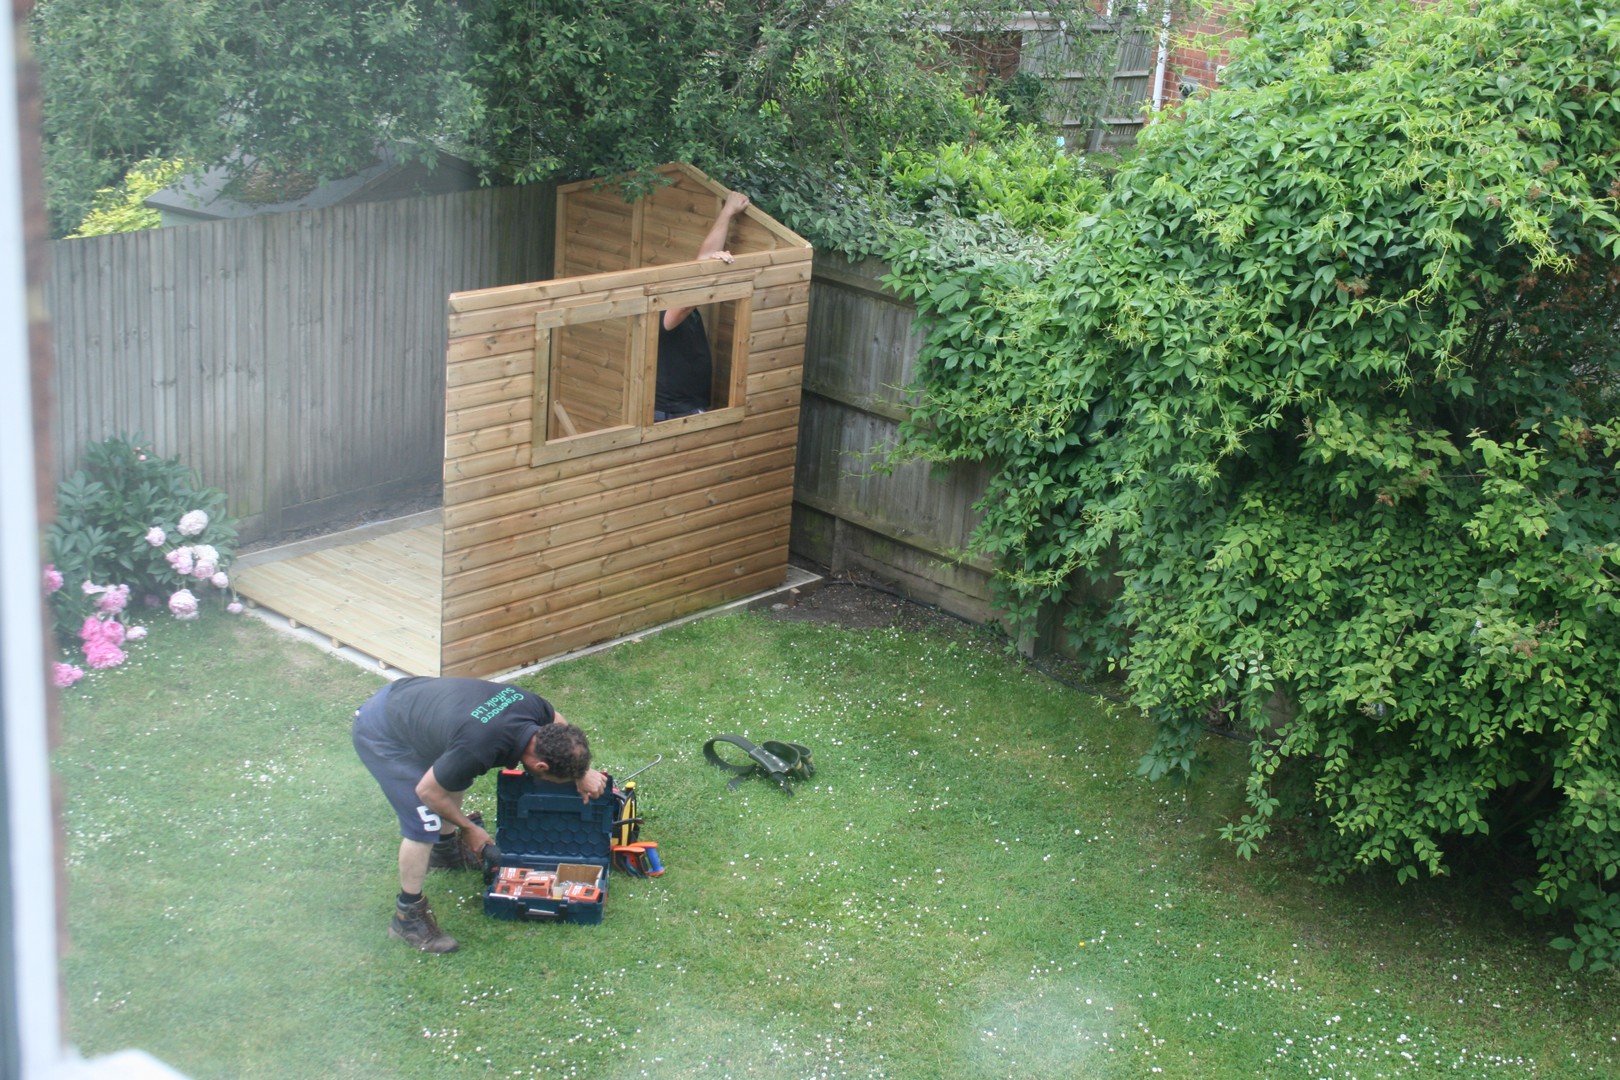
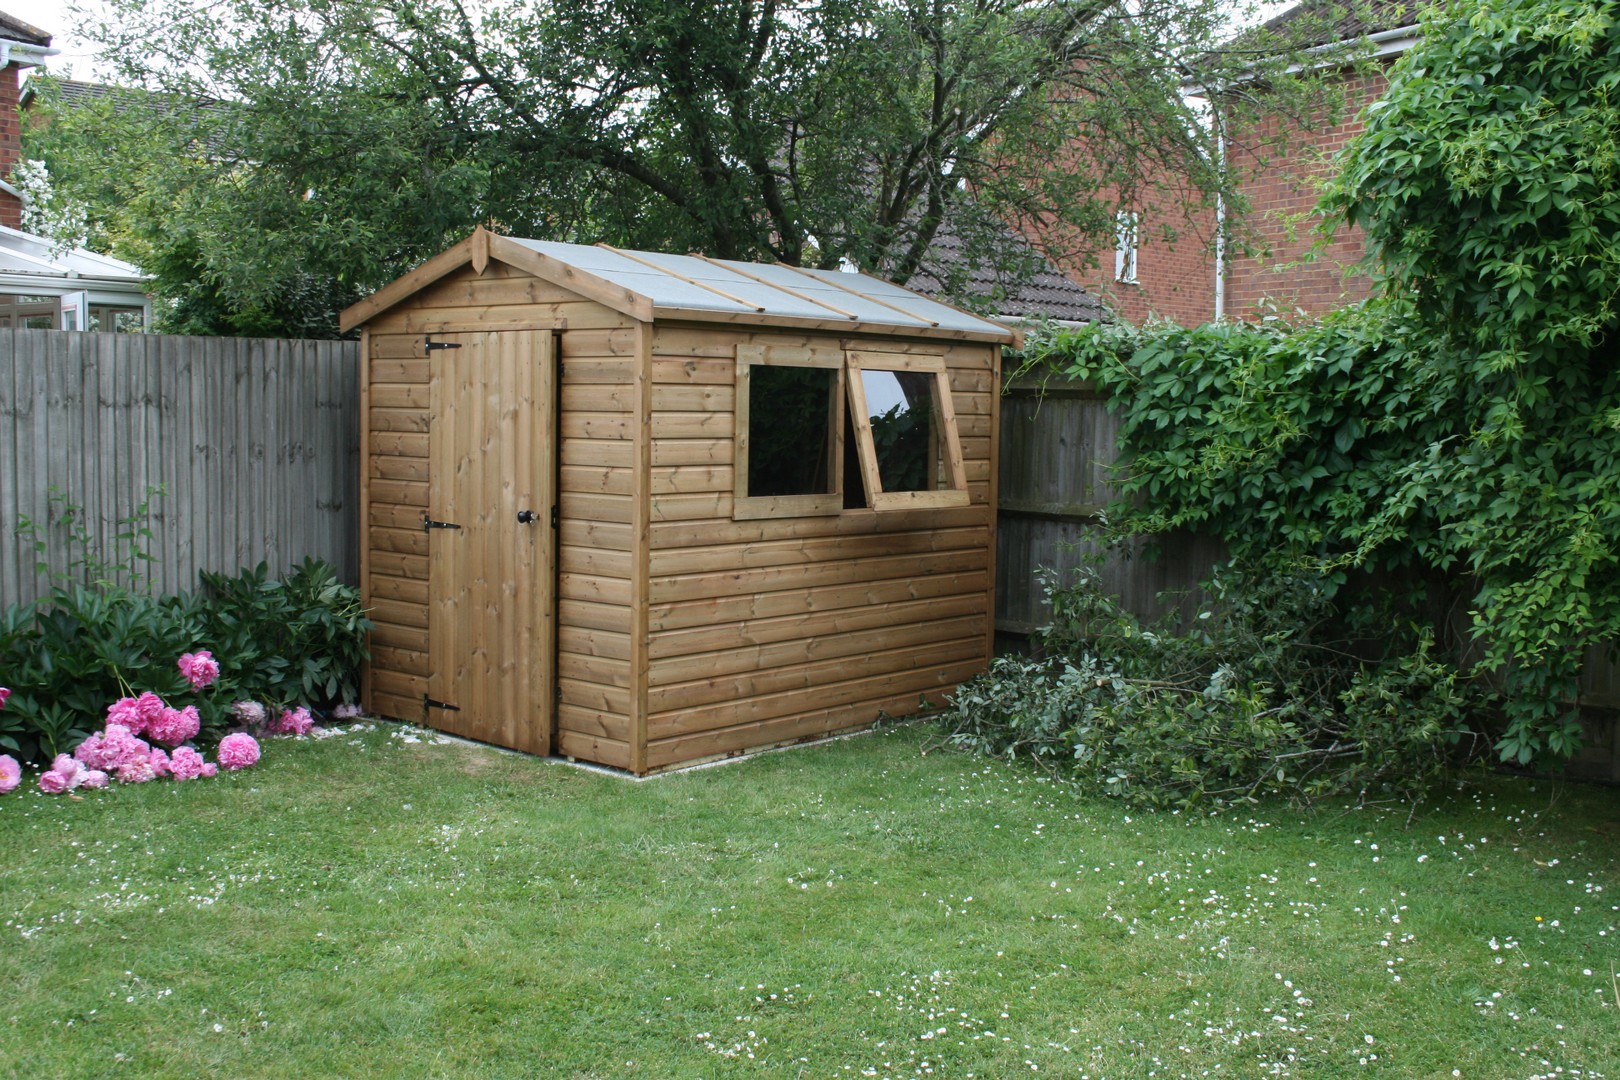
I considered using part of the garage which is attached to the house. This would make wiring etc much easier, but sadly there is no door between the inside of the house and the inside of the garage and I don't fancy the idea is having to open the big garage door each time I want to use the workshop. So I followed the traditional UK path of building a shed in the garden. When I say building, the shed itself is coming part built and will be finished on site.
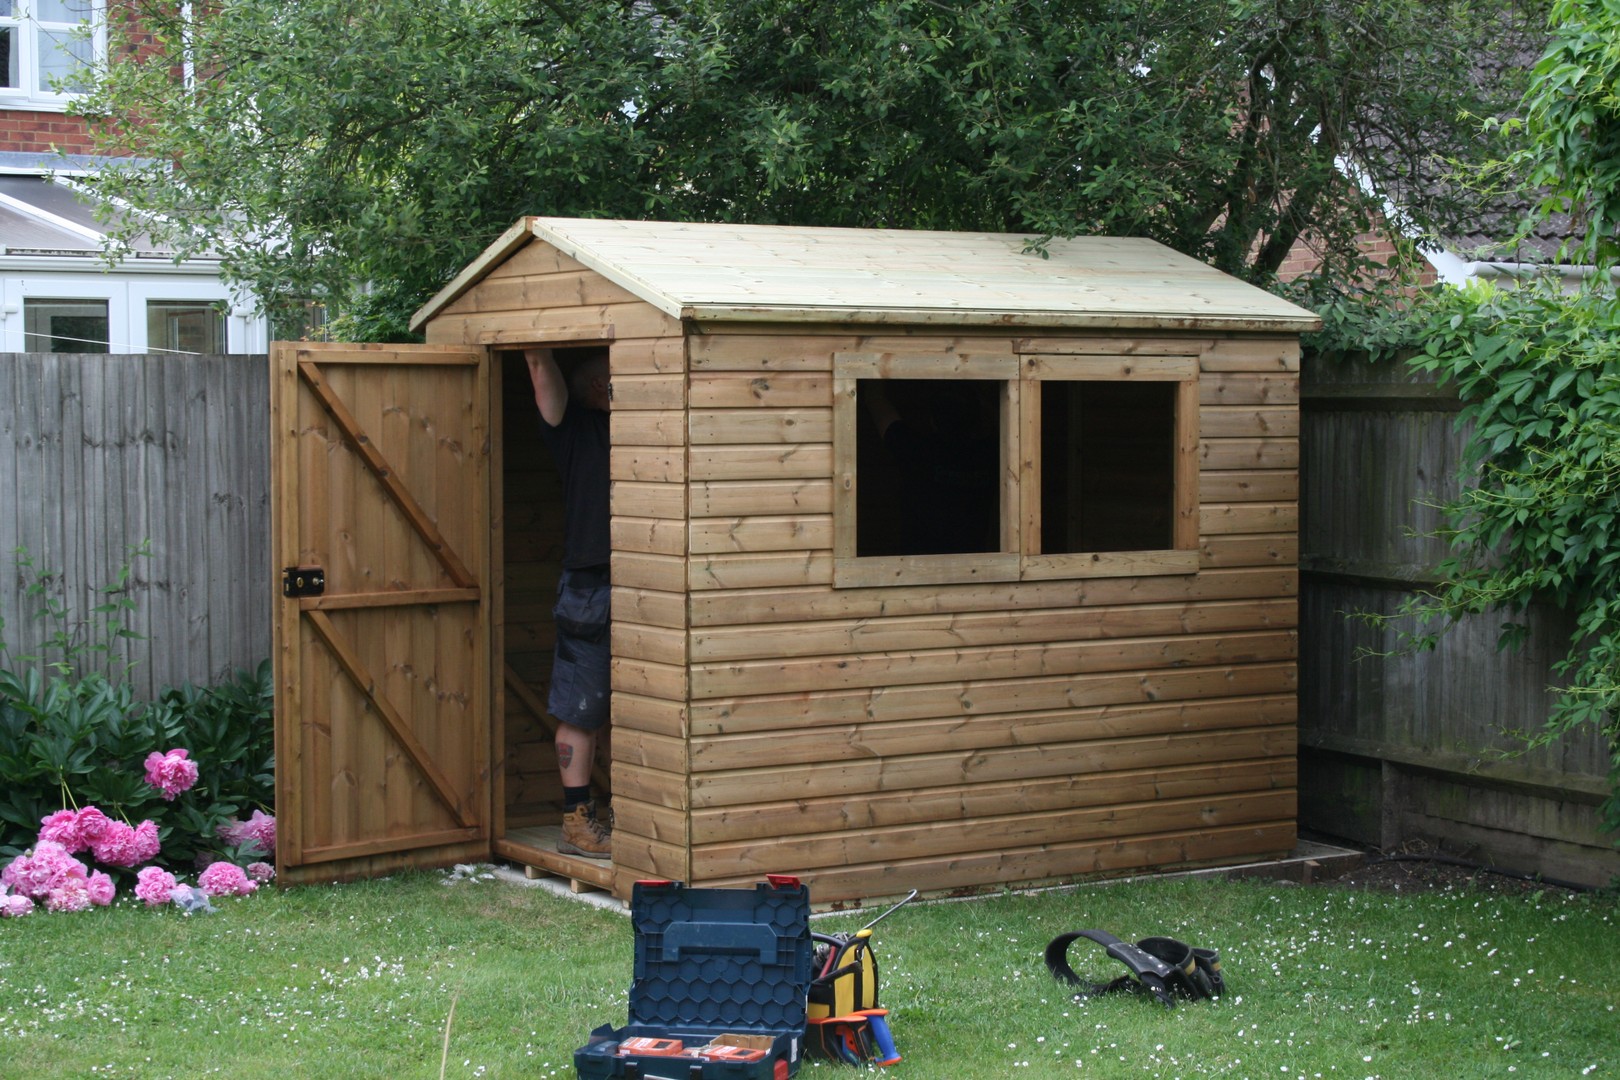
Shed installed today 8th June 2018 Love it!
I need to then do the following:
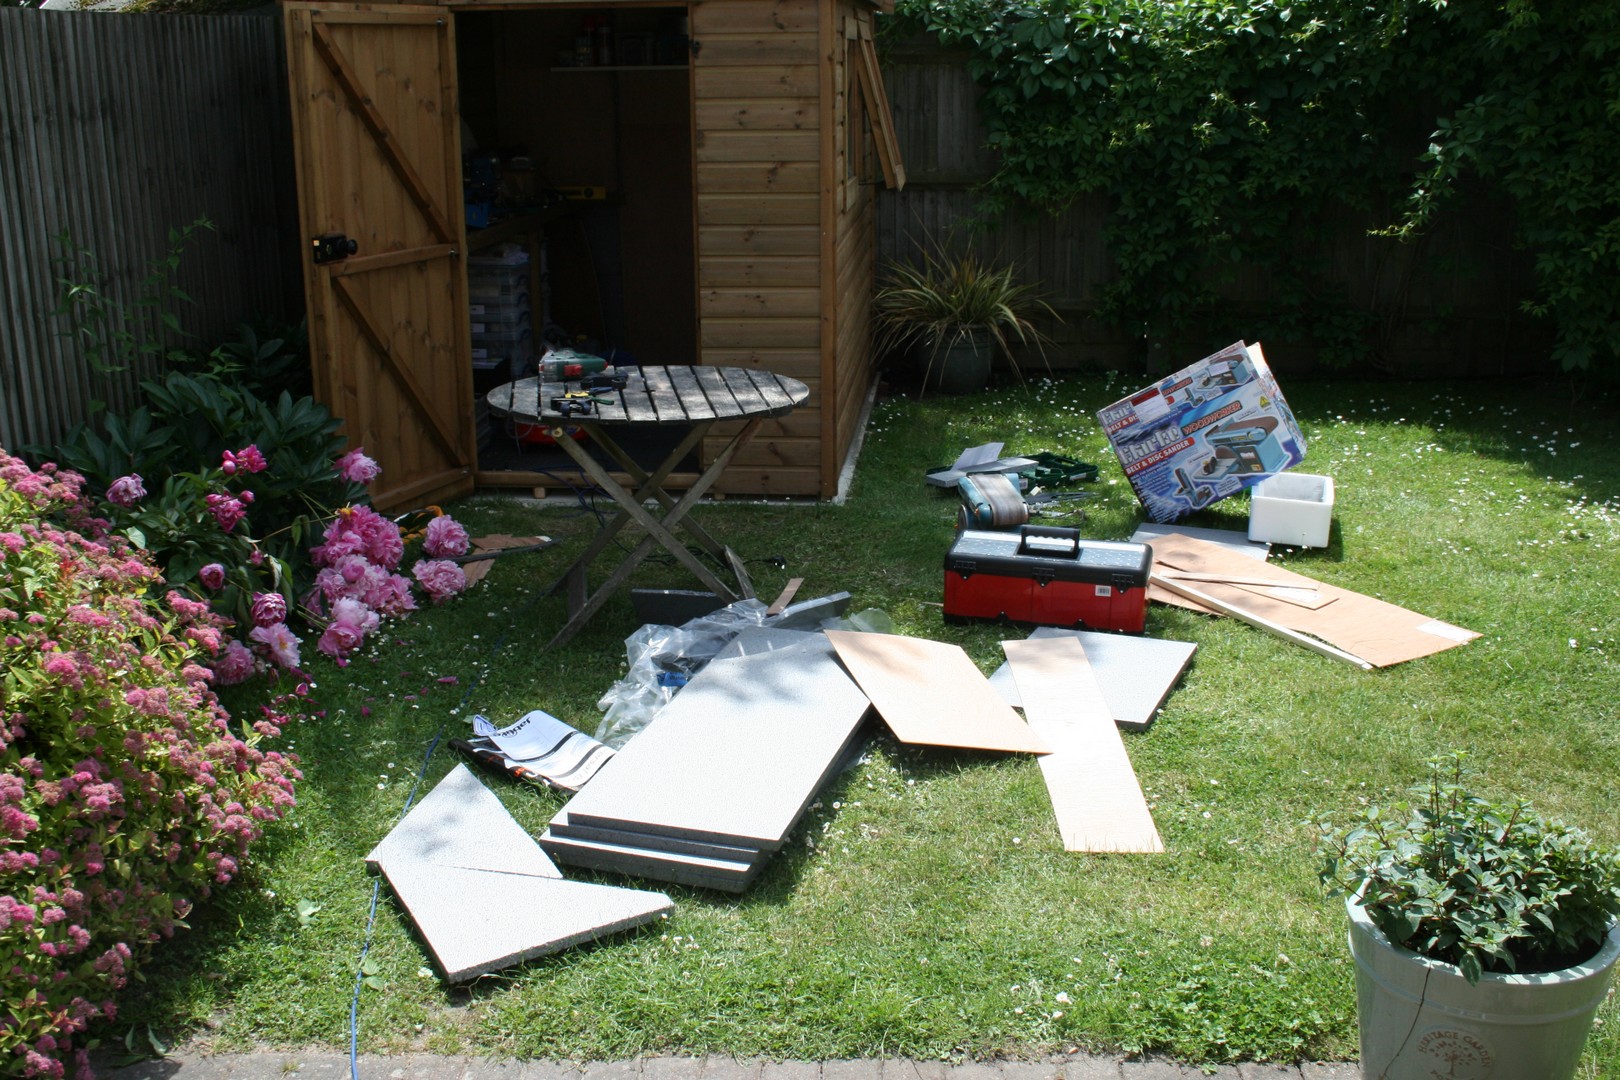
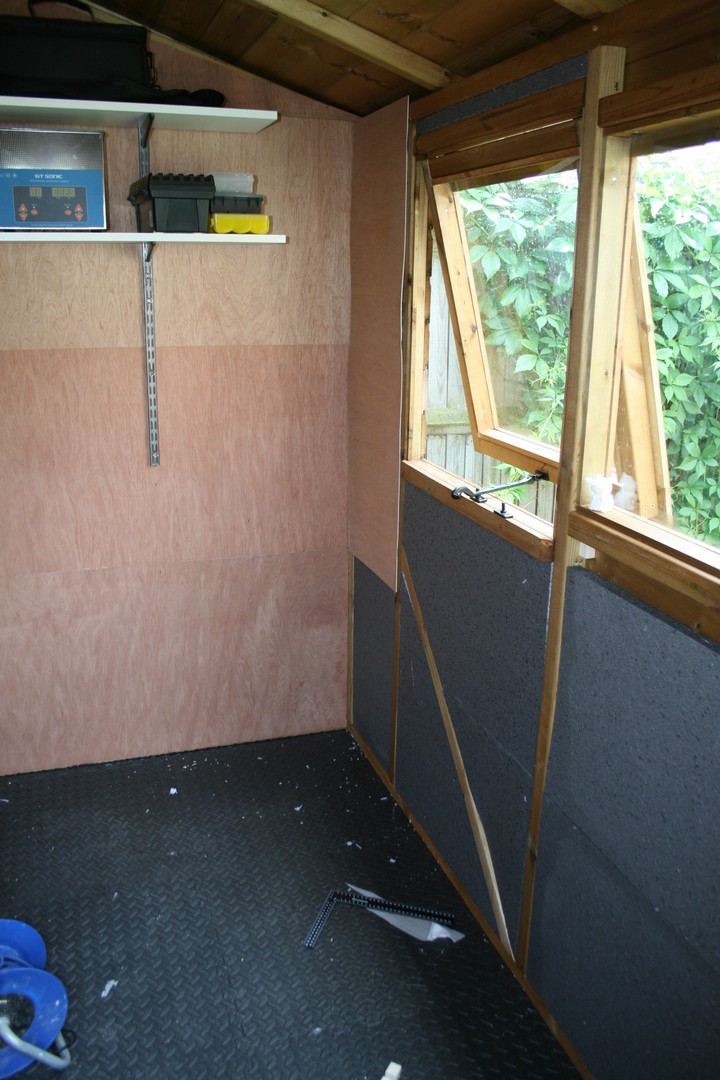
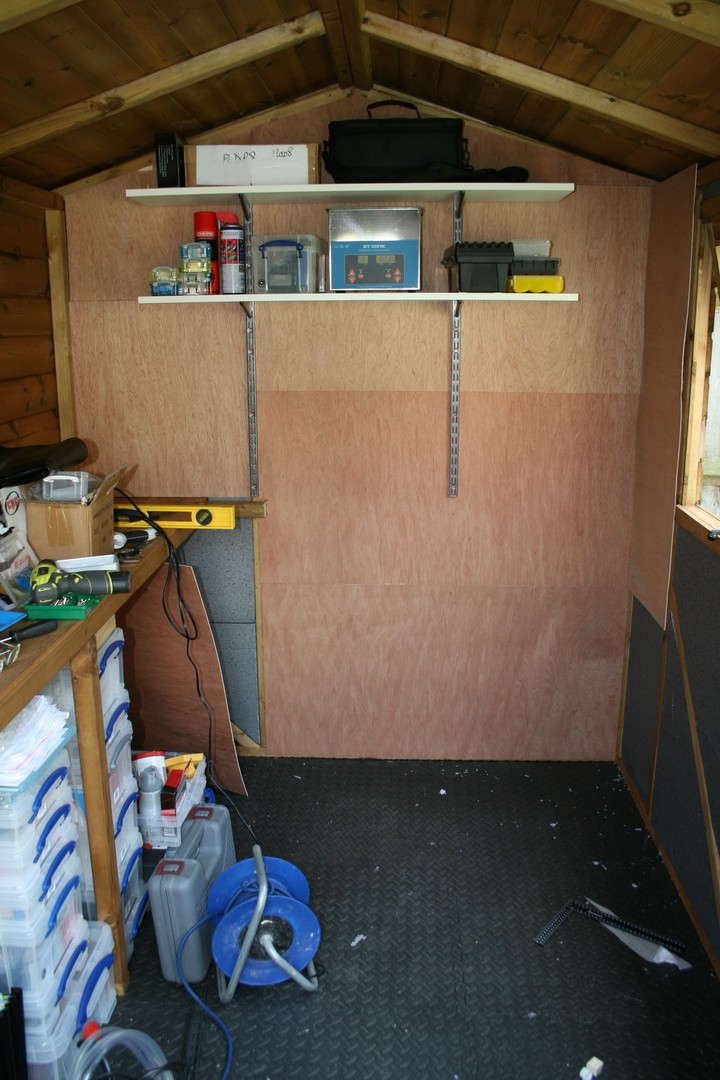
- Insulate sides, ceiling and floor and line the sides and ceiling with ply
- Started this 8th, 9th and 10th June 2018
- Still at it on 16th 17th and am getting seriusly bored with it.
- More done today 30th June 2018 - still bored with it
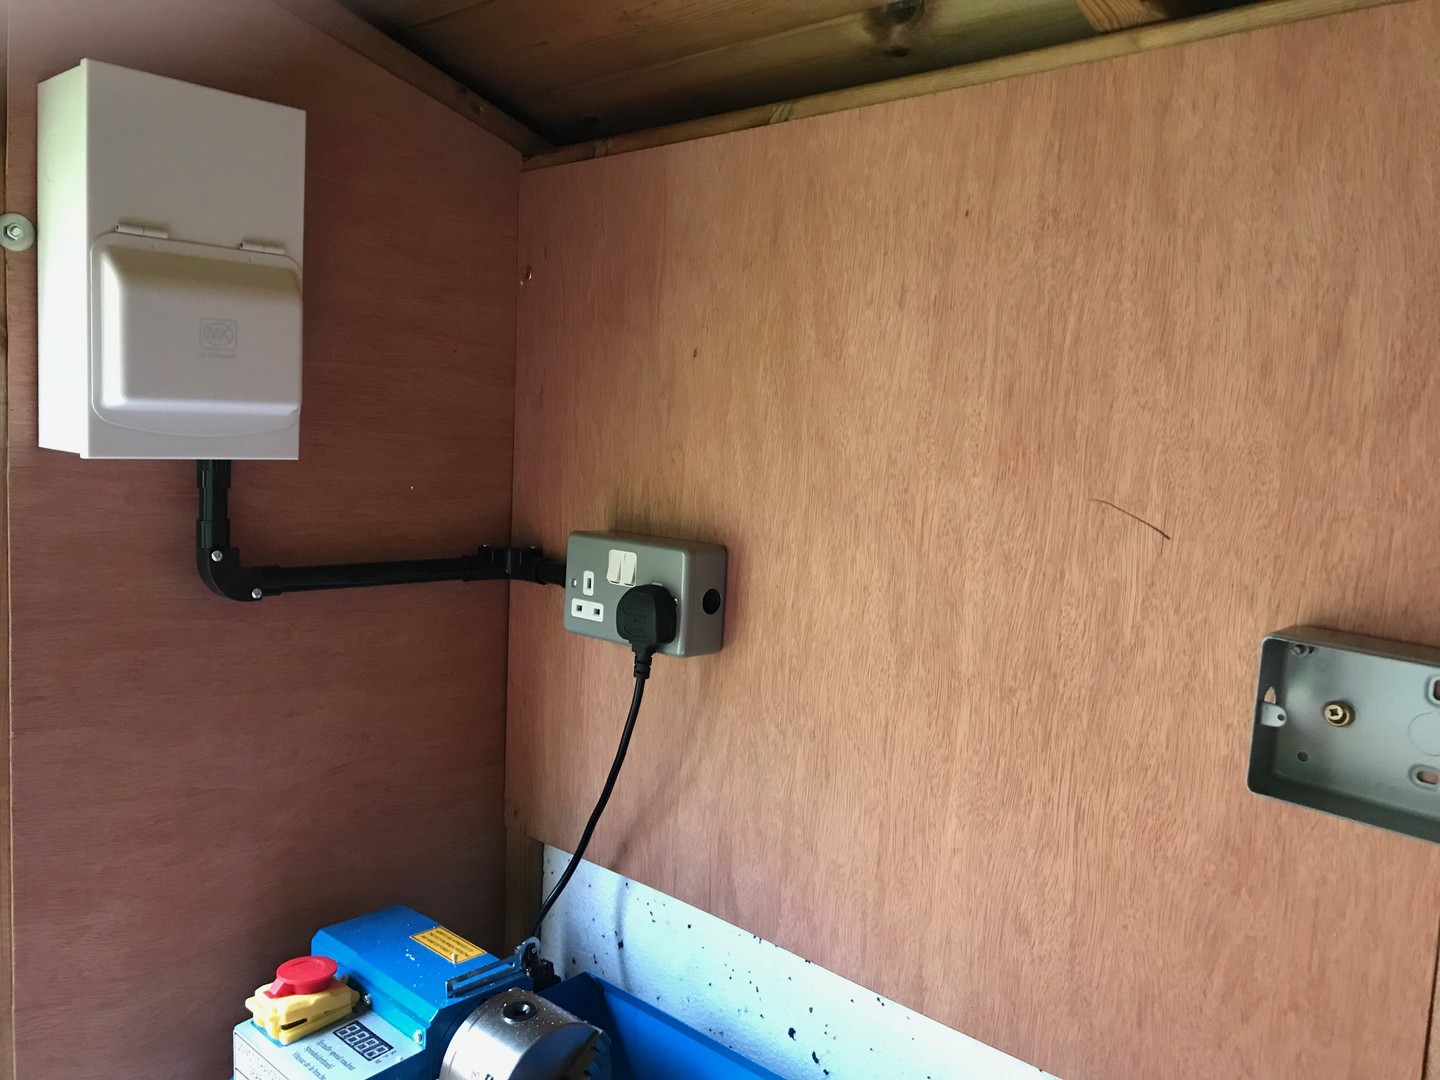
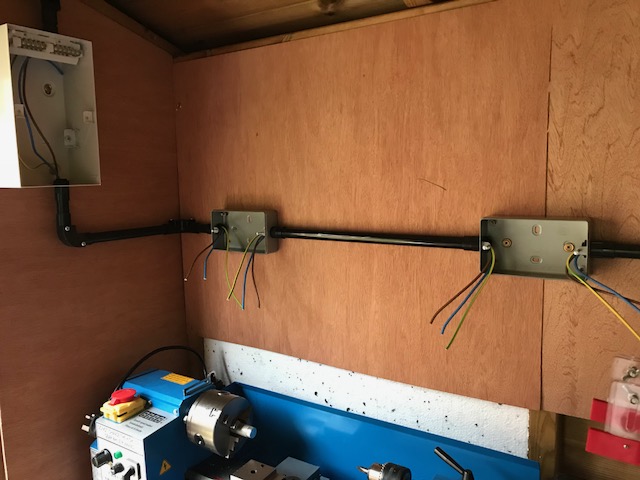
- Install small consumer unit, sockets lighting and small heater
- CU bought (MK), six MK metalclad sockets, black 20mm conduit and saddles
- CU installed 16th June 2018
- All conduit and sockets and switches now in place 17th June 2018
- 2nd fix completed 30th June 2018 - all boxes and conduit cable in place and small 1kW wall mounted heater installed. Unsure what to do about the lighting still, so wiring just goes up to the ceiling and is coiled up while I decide what to do. Getting the three 2.5 square mm cables through the conduit and around some of the tight bends is hard work!
- Run amoured cable from the garage to the shed
- 6mm SWA cable ordered and arrived
- Installed 13th July 2018 - see blog for details
- Arrange for an electrician to connect the whole lot up
- Jim been to check up and seems happy with the plan and has provided a quote. He will terminate and connect up the SWA cable and test my installation and if all is well certify it all. Keeps the insurance company happy.
Then:
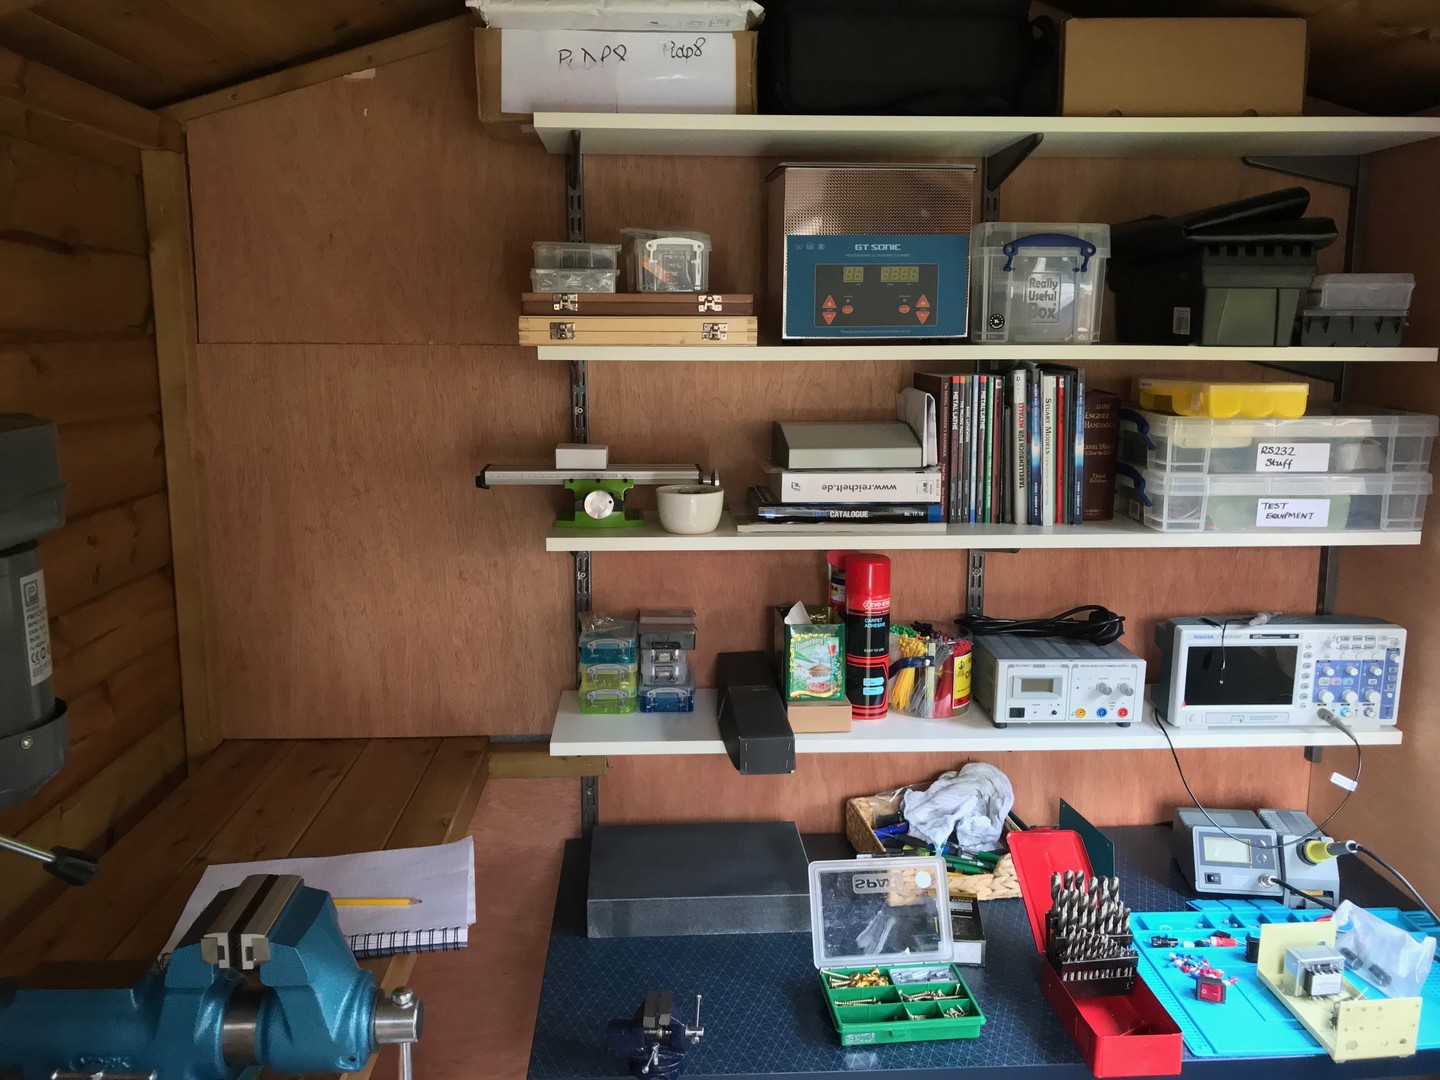
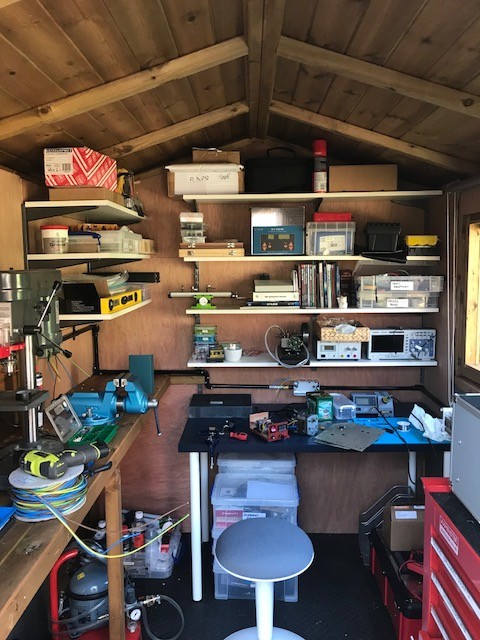
- Build shelves and workbench
- Some shelves in place 9th June 2018
- More shelves in place 17th June 2018
- Workbench in place
- Build desk
- Done and in place - something cheap from Ikea
Then installing the kit
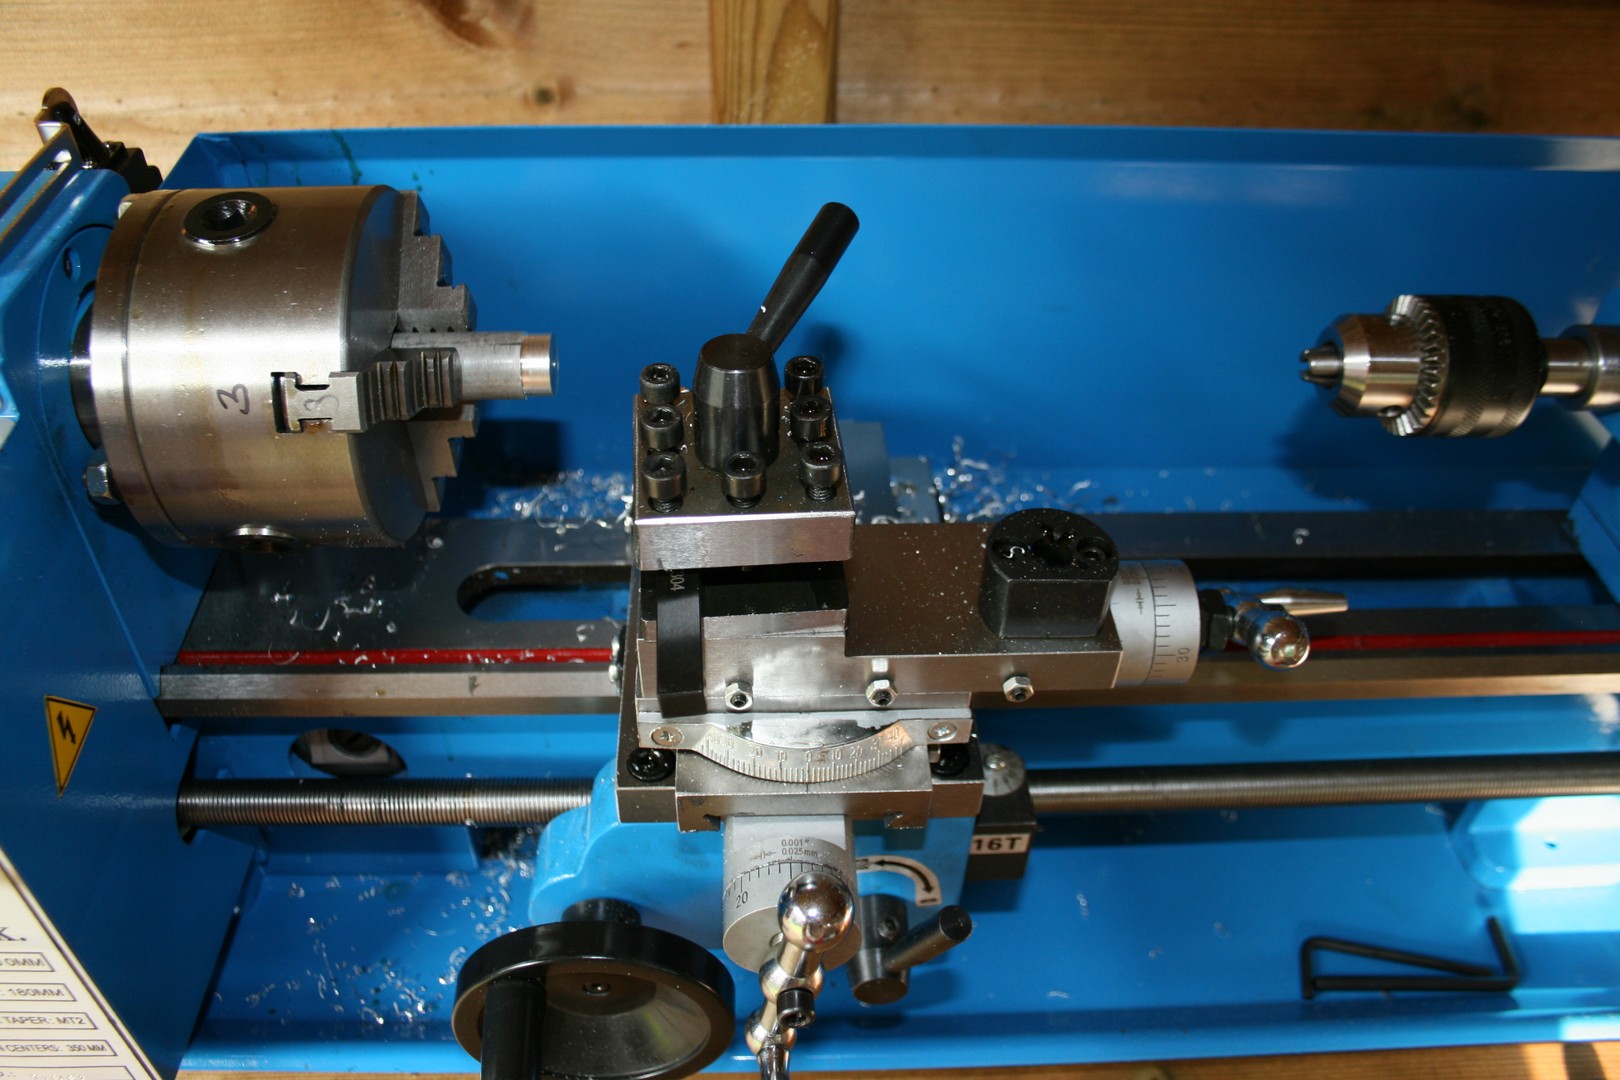
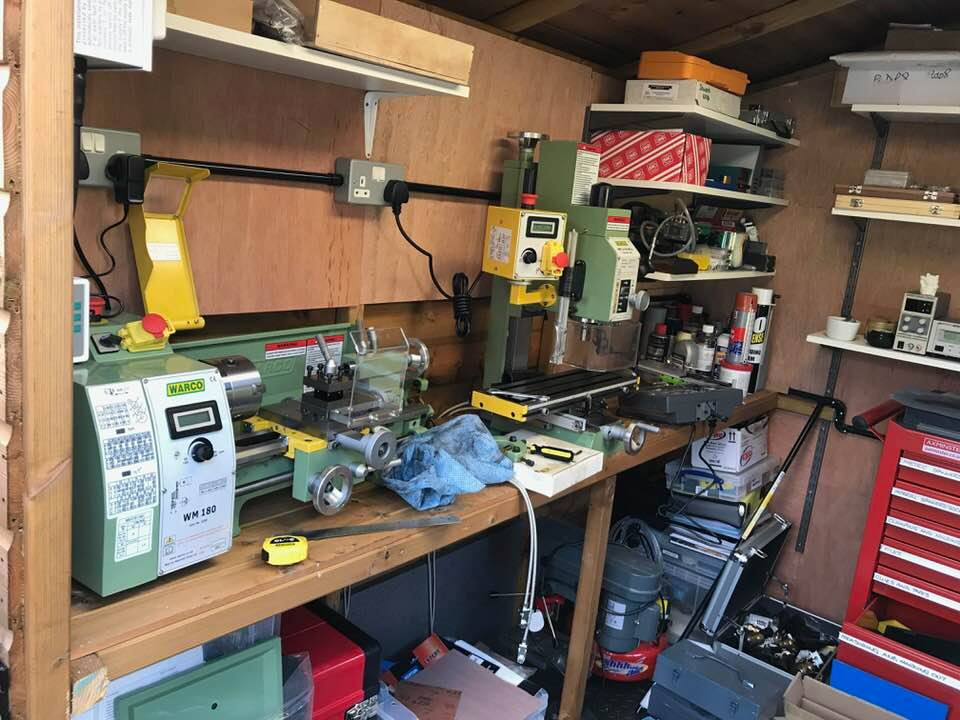
- Lathe in place on bench and first simple piece turned and faced - just to prove it's going to work!
- Vice positioned but still to be fixed down
- Done 17th June 2018 - four big M10 bolts.
- Drill stand positioned but still to be fixed down. The drill stand is something horrible bought years ago from B&Q and is pretty hopeless - mainly the chuck and the cheap non-standard taper. It does the job for now, but can be scrapped when I get a mill.
- 3rd August 2018 - New lathe and mill in place. I am going to add some more support for the bench and feed the new legs down to the concrete pad under the floor.
5th August 2018 - All done - for the time being anyhow!
Jim the electrician came back and connected up the SWA cables and tested my installation. All OK and he was very complementary about the install. Power, heating and light now!! Jim also sent through the test results and certificates - very pleased.
Lathe and Mill secured to the bench and electrically plumbed in. Moved the desk back to where it was originally which is better with those shelves above it. The tool cabinet is behind me when using the mill or lathe and that is more convenient. The old B&Q drill stand has been given away.
The bench in the shed is supported by substantial 40mm square timbers, but I realised they only go down to the floor - which is itself some 25mm off the concrete pad. I have installed additional supports through the floor down to the concrete - much more stable and secure.
Short workshop tour video alongside.